
CSA (Cyber security assessment): MAC AGENT INSTALL and removal
INSTALLATION / REMOVAL INSTRUCTIONS
MAC AGENT INSTALLATION
There are three steps for you to follow in this process:
1. Step 1: Verify the MacOS operating system your computer is running
2. Step 2: Download the scanning agent for MacOS machines
2. Step 3: Install the scanning agent for MacOS machines
STEP 1: VERIFY THE MAC OS OPERATING SYSTEM YOUR COMPUTER IS RUNNING
You verify which OS your computer is running by following the instructions here:
https://support.apple.com/en-us/HT201260
This is required, because starting with macOS Catalina, Macs use zsh as the default login shell and interactive shell. This step is required to install the agent. This article will walk you through the process:
https://support.apple.com/en-us/HT208050
STEP 2: DOWNLOAD THE SCANNING AGENT FOR MacOS MACHINES
Download the scanning agent by accessing the following link:
https://www.tenable.com/downloads/nessus-agents?loginAttempted=true
For Mac OS computers, select the NessusAgent-10-8.4.dmg agent
STEP 3: INSTALL THE SCANNING AGENT FOR MacOS MACHINES
Once you’ve downloaded the correct MacOS scanning agent, the following steps will guide you through the process to install the scanning agent on your MacOS computer to be included in the CSA.
Before you begin, please confirm the following:
You have downloaded the Scanning Agent for MacOS machines
You have received the script to run, once the agent is installed
You have admin level privileges on the computer this is being installed on
Once you have confirmed these, you can proceed to install the scanning agent for MacOS.
1. Access the agent you downloaded
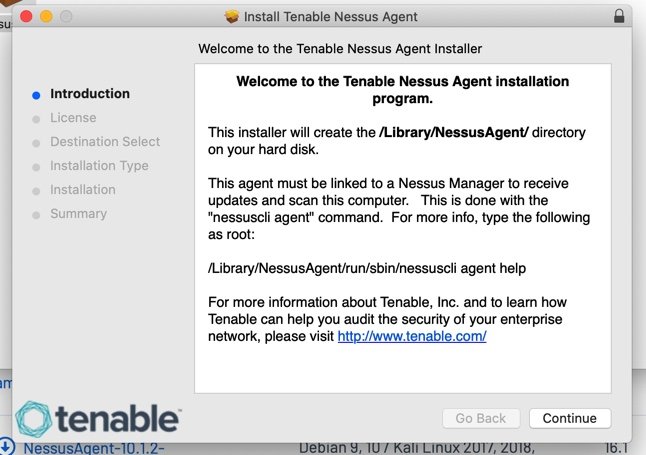
Double click the agent to begin the install process

Click that you ‘Agree’ to the agents Terms & Conditions
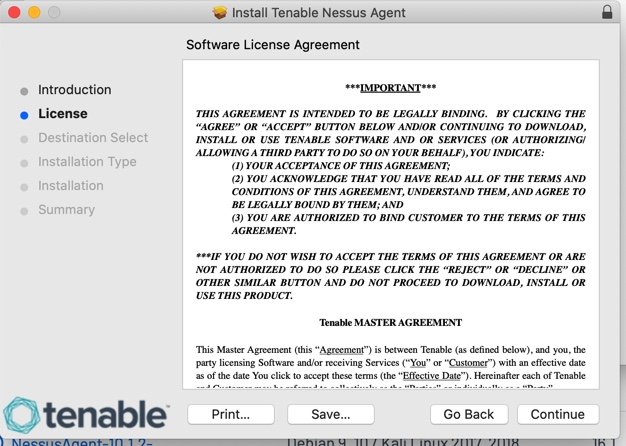
Click ”Continue”
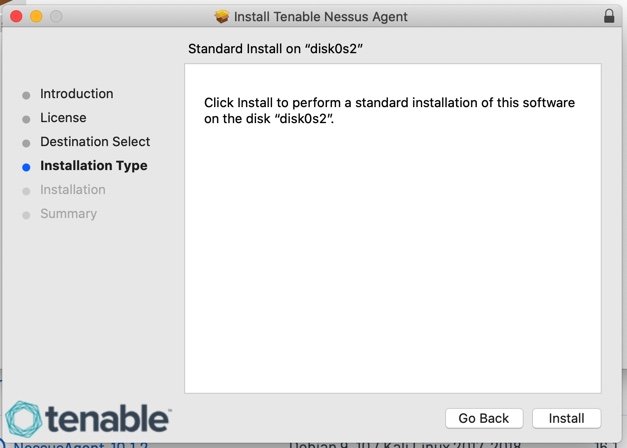
Click ”Install”
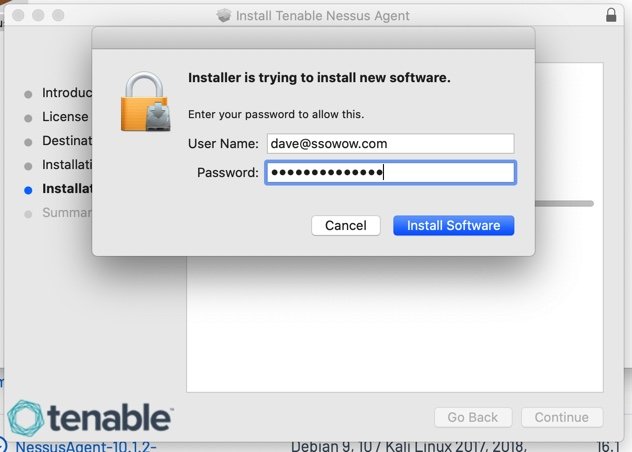
At this prompt, enter the username and password of the computer with administrator privilege’s. This is not something we provide - you already have this.
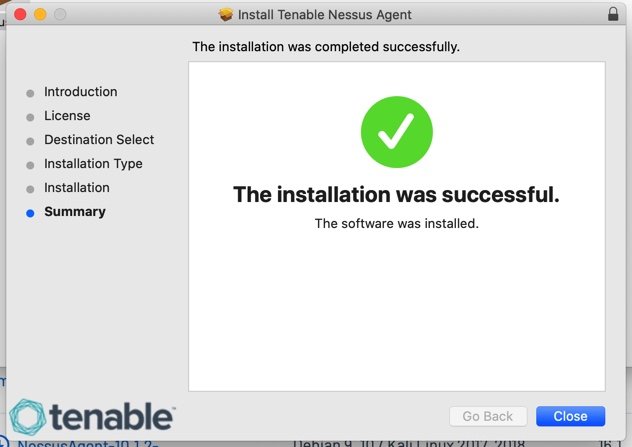
This will verify the agent is installed correctly
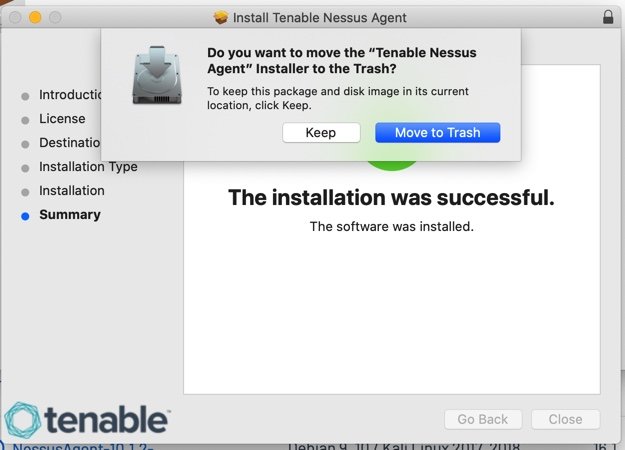
Once installed, the installed can be Move to Trash
After the agent has been installed, open the Terminal application.

Copy and paste the command we provided in Terminal
Press Enter.

NOTE: You may be prompted to enter your password, depending on your Mac settings. This is your computer password (with administrative privileges). Please note that when entering your password, keystrokes may not appear.
That’s it!
Within a couple minutes, your computer will appear in our Tenable Scanning dashboard, verifying your computer is ready for the scan. If your computer does not show up in the dashboard, you might be contacted with further instructions. Thank you for your help in setting up this important assessment!
MAC AGENT REMOVAL
There are two steps for you to follow in this process:
1. Step 1: Remove the Nessus directories.
2. Step 2: Disable the Nessus Agent service
Open the Terminal application.
STEP 1: REMOVE THE NESSUS DIRECTORIES
Within Terminal, type the following command:
$ sudo rm -rf /Library/NessusAgent
hit ‘Enter’
then type the following command:
$ sudo rm /Library/LaunchDaemons/com.tenablesecurity.nessusagent.plist
hit ‘Enter’
then type the following command:
$ sudo rm -r /Library/PreferencePanes/Nessus Agent Preferences.prefPaneCopy and paste the command we provided in Terminal
hit ‘Enter’
NOTE: If prompted, enter your password. This is your computer password (with administrative privileges). Please note that when entering your password, keystrokes may not appear.
STEP 2: DISABLE THE NESSUS AGENT SERVICE
From a command prompt, type the following command:
$ sudo launchctl remove com.tenablesecurity.nessusagent
hit ‘Enter’
NOTE: If prompted, enter your password. This is your computer password (with administrative privileges). Please note that when entering your password, keystrokes may not appear. That’s it!
This will remove the Tenable Scanning agent from your computer.
ACCESSING SUPPORT / ADDITIONAL INFORMATION
For any questions and/or additional information, please contact us at hd@ssowow.com or 858-848-5776 ext 3. We are here, happy to help and look forward to speaking with you.
Hello, World!