
CSA (Cyber security assessment): Windows AGENT INSTALL & removal
INSTALLATION / REMOVAL INSTRUCTIONS
WINDOWS AGENT INSTALLATION
There are two steps for you to follow in this process:
1. Step 1: Download the scanning agent for Windows machines
2. Step 2: Install the scanning agent for Windows machines
3. Step 3: (When instructed) Uninstall the scanning agent for Windows machines
STEP 1: DOWNLOAD THE SCANNING AGENT FOR WINDOWS MACHINES
Download the scanning agent by accessing the following link: https://www.tenable.com/downloads/nessus-agents?loginAttempted=true
To download the agent for Windows computers, select the NessusAgent-10.8.4-x64.msi
STEP 2: INSTALL THE SCANNING AGENT FOR WINDOWS MACHINES
Once you’ve downloaded the correct Windows scanning agent, the following steps will guide you through the process to install the scanning agent on your Windows computer to be included in the CSA.
Before you begin, please confirm the following:
You have downloaded the Scanning Agent for Windows machines
You have captured the Key, Server, and Groups information specifically created for your organization – you will need to enter the information in this process
You have admin level privileges on the computer this is being installed on
Once you have confirmed these, you can proceed to install the scanning agent for Windows.
Access the agent you downloaded
Double click the agent to begin the installation process
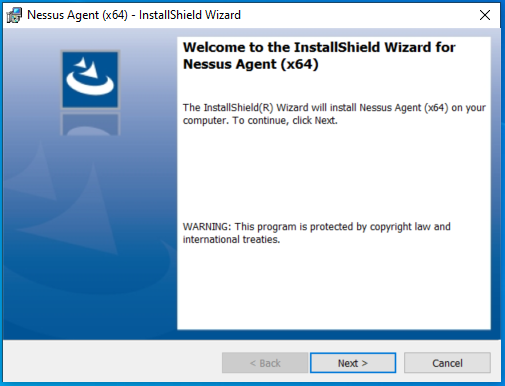
When the above screen appears, click ”Next”
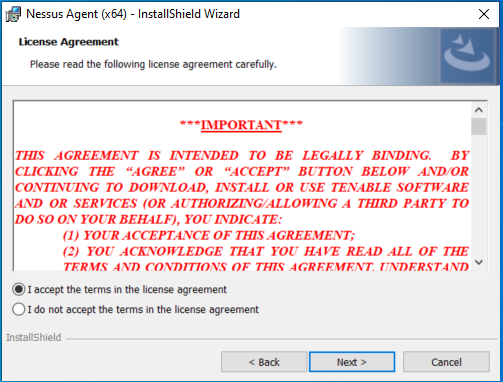
Select that you ‘Accept’ the License Agreement and click ”Next”.
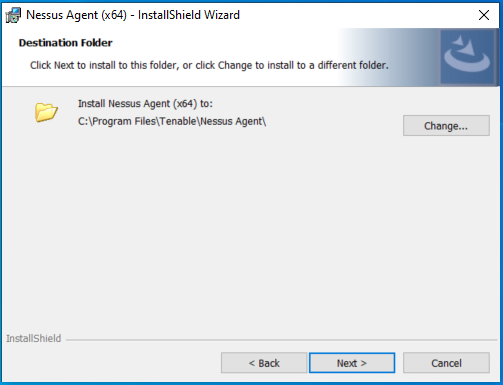
When this screen appears, click ”Next”
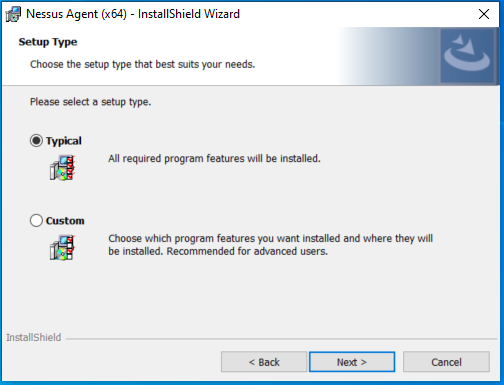
Select the ‘’Typical’ setup option and click ”Next”.
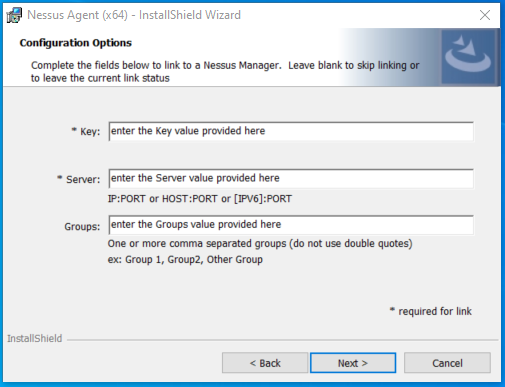
Enter the Key, Server, and Group values provided in a separate email.
click ”Next”
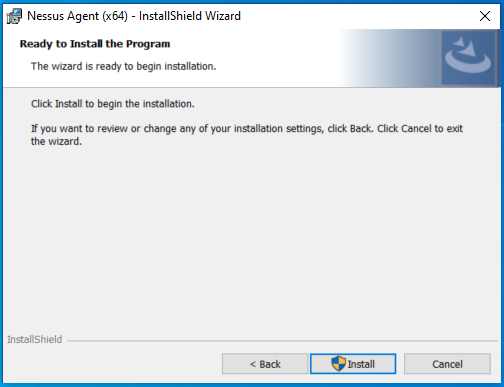
When this screen appears, click ”Install”
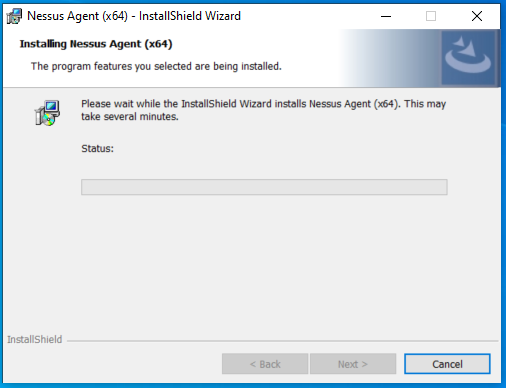
If Windows pops up, asking to approve the install, click to allow.
Then give the agent a bit of time to install.
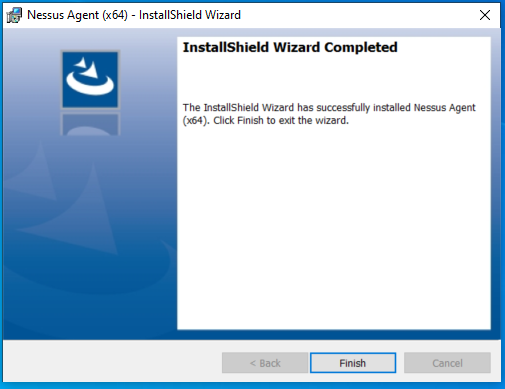
When installation completes, click ”Finish”
That’s it!
Within a couple minutes, your computer will appear in our Tenable Scanning dashboard, verifying your computer is ready for the scan. If your computer does not show up in the dashboard, you might be contacted with further instructions. Thank you for your help in setting up this important assessment!
REMOVING THE SCANNING AGENT FROM WITHIN THE WINDOWS CONTROL PANEL
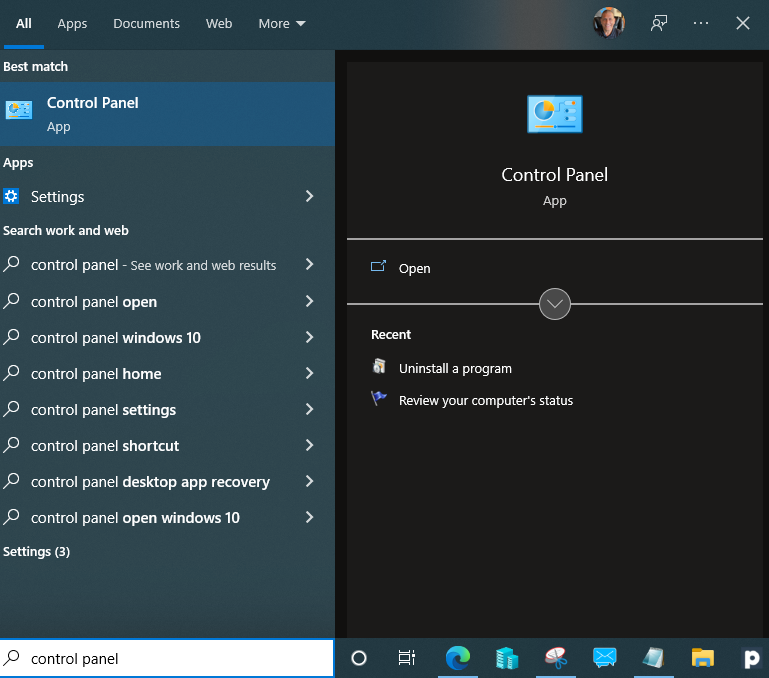
Type ‘Control Panel’ in the Windows Search Box and select the Control Panel App
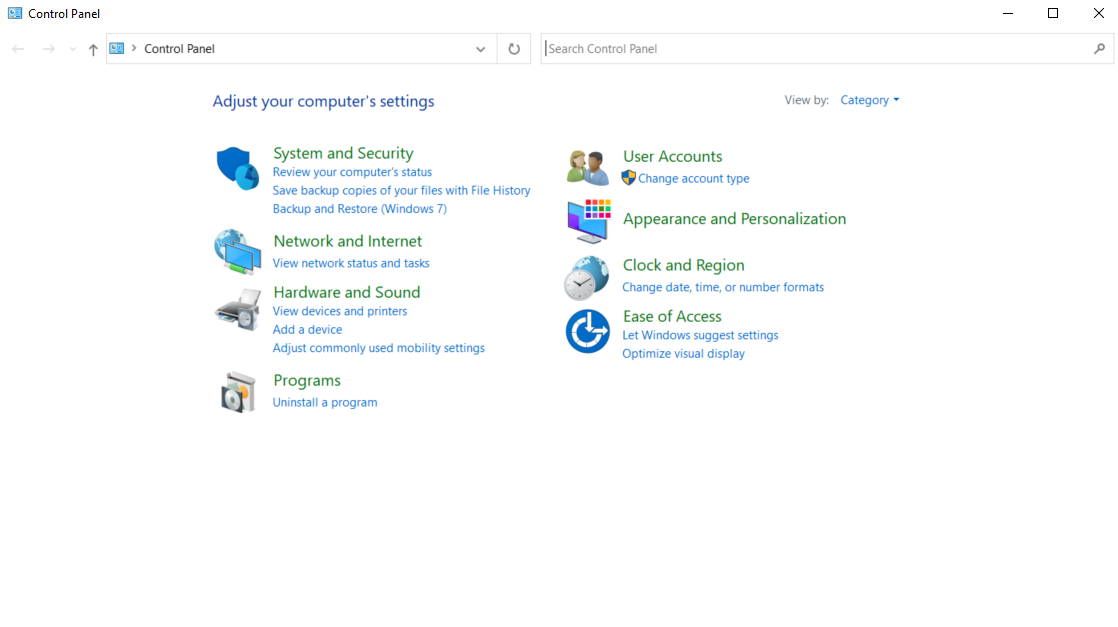
Click ’Programs (uninstall a program)’
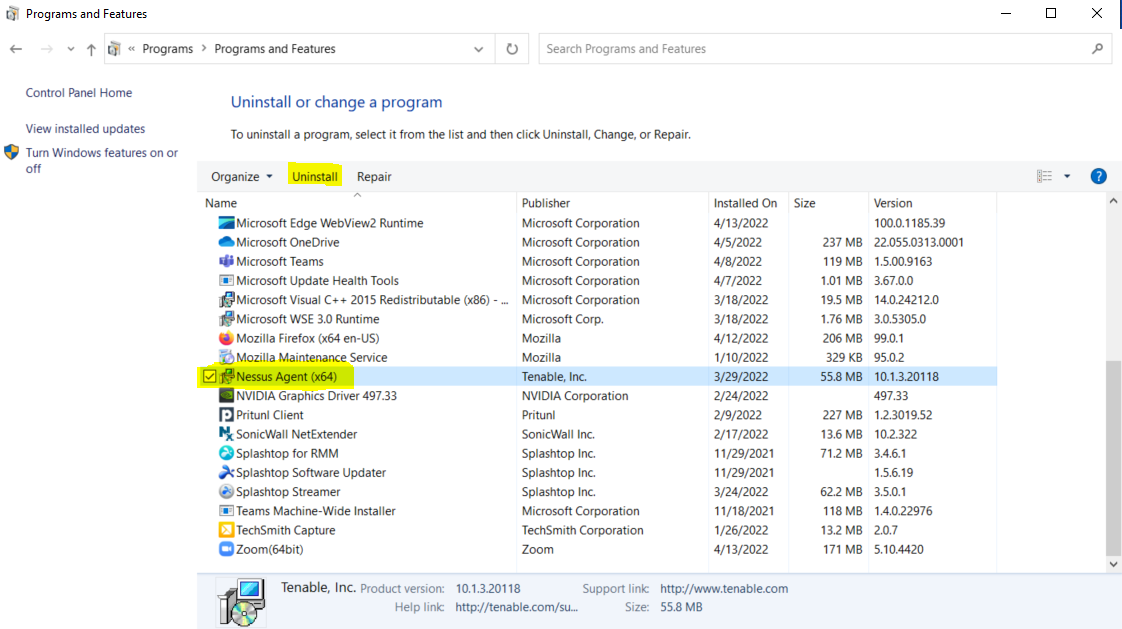
Select ‘Nessus Agent (x64)’, then click “Uninstall”
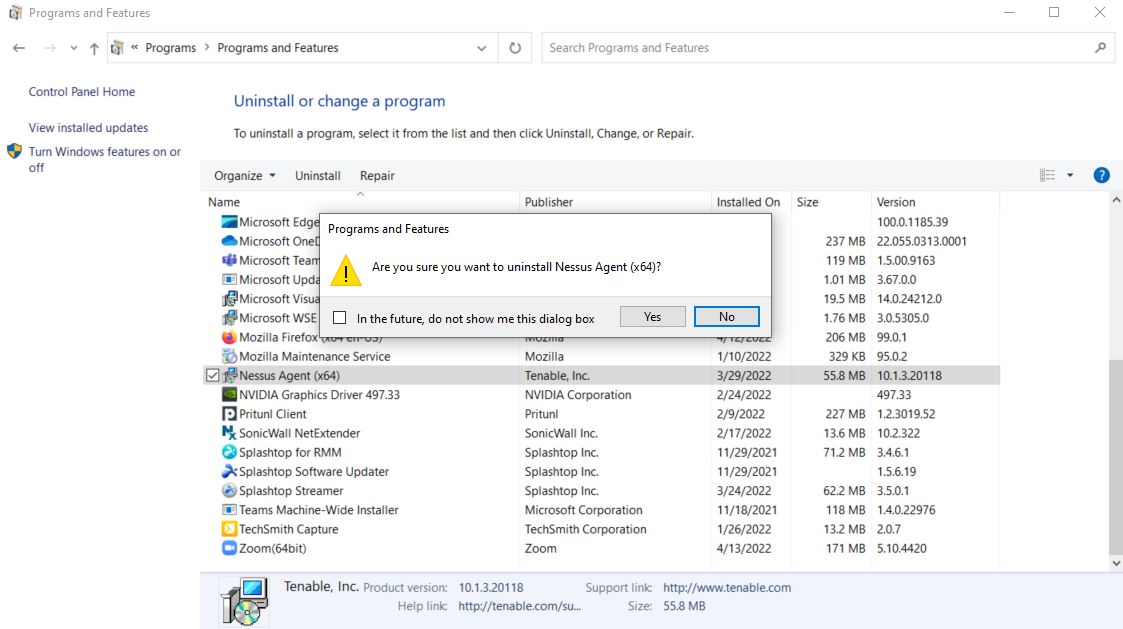
When asked ‘Are you sure you want to uninstall Nessus Agent (x64)?’, click ”Yes”.
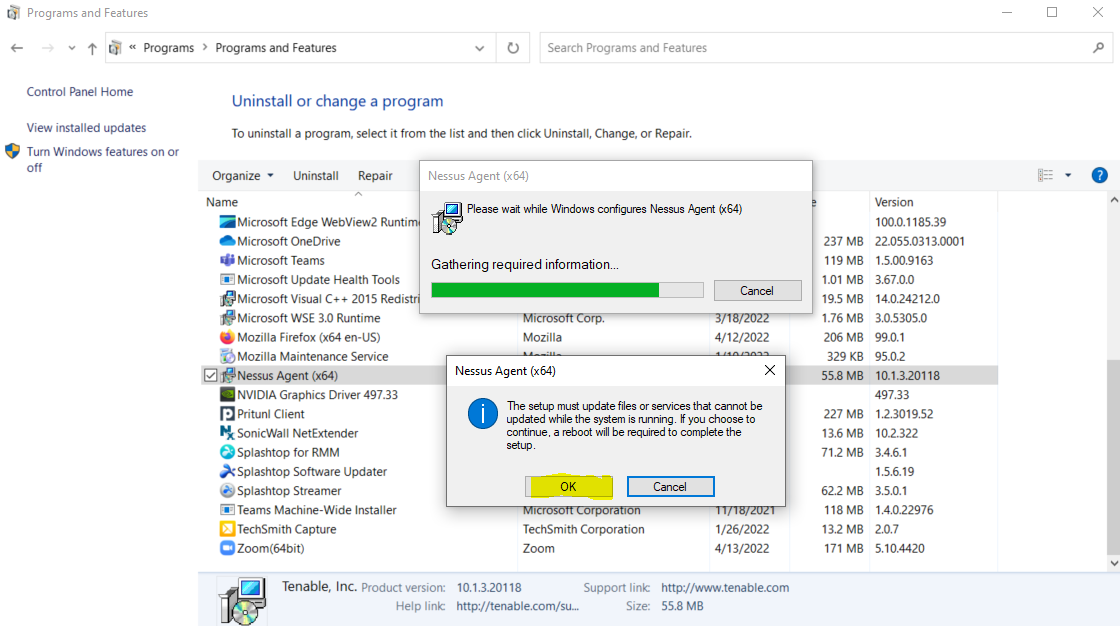
As the agent uninstalls, when ‘The setup must update files or services….’ window pops up, click ”OK” to continue
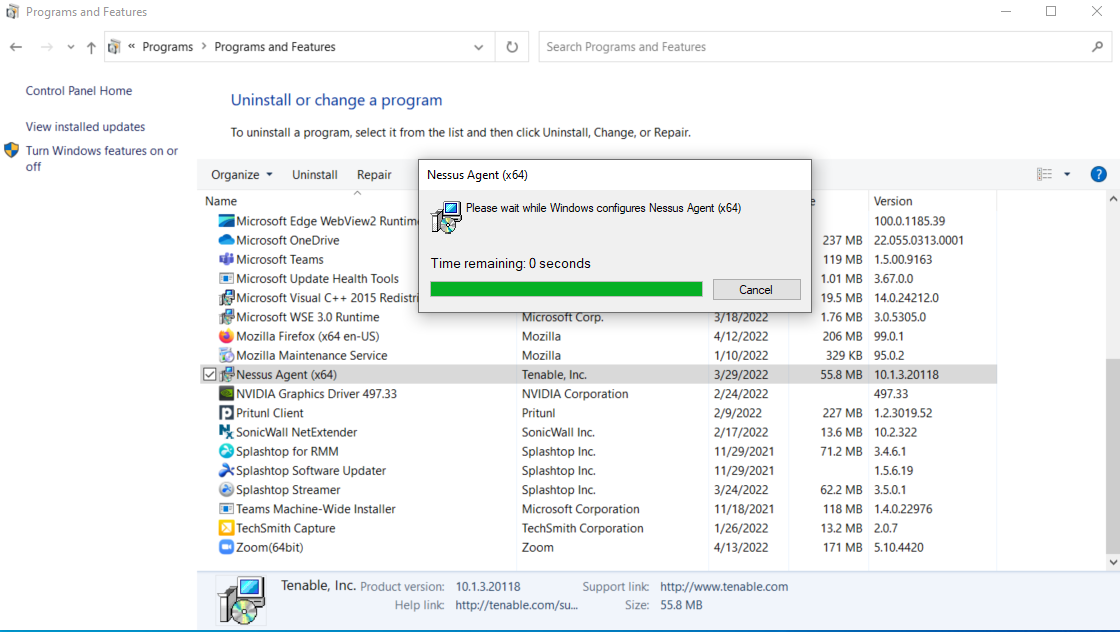
Allow the uninstall process to continue.
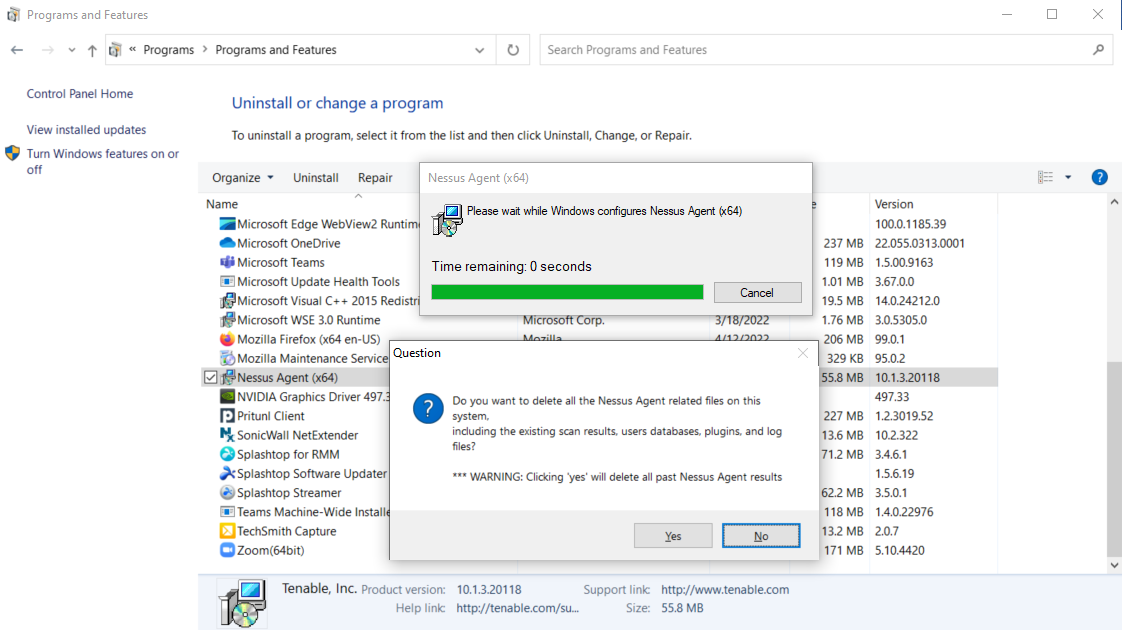
When asked ‘Do you want to delete all of the Nessus Agent related files on this system….’ click “Yes” to continue..
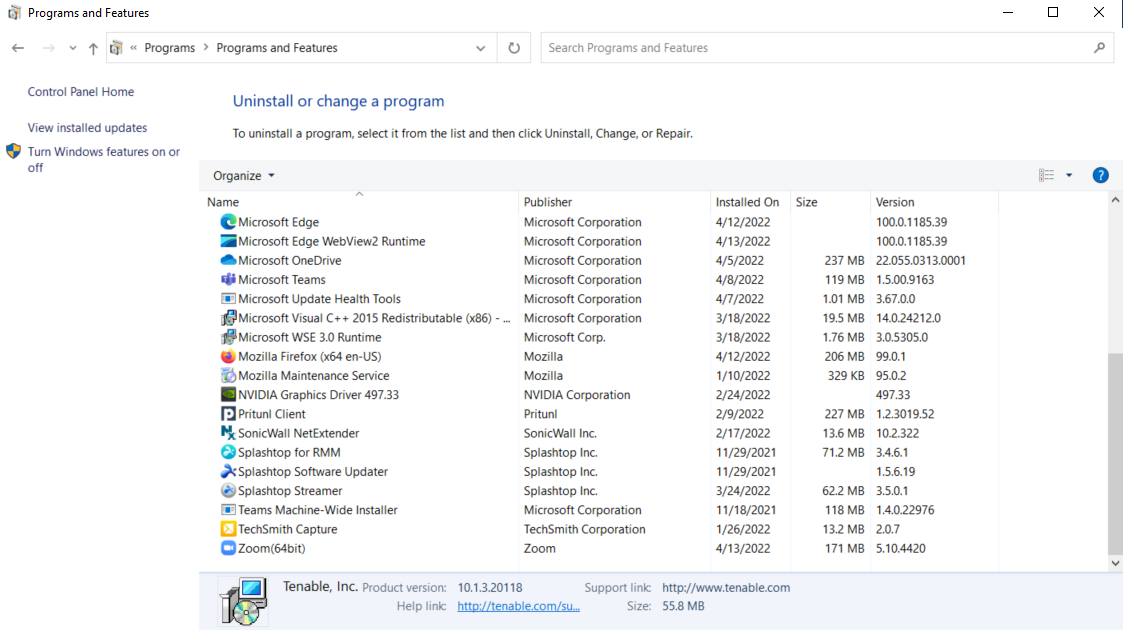
When completed, you will no longer see the ‘Nessus Agent (x64)’ application installed on the computer. Close the Control Panel and the uninstallation process is complete.
ACCESSING SUPPORT / ADDITIONAL INFORMATION
For any questions and/or additional information, please contact us at hd@ssowow.com or 858-848-5776 ext 3. We are here, happy to help and look forward to speaking with you.